- android 电话状态监听(来电和去电)实现代码
- android RadioButton和CheckBox组件的使用方法
- Android 中对于图片的内存优化方法
- 双缓冲技术实现Android 画板应用
- Android实现类似360,QQ管家那样的悬浮窗
- Android集成新浪微博第三方登录的方法
- Android实现关机重启的方法分享
- android开发教程之textview内容超出屏幕宽度显示省略号
- Android中发送Http请求(包括文件上传、servlet接收)的实例代码
- Android开发笔记 Handler使用总结
- android图像绘制(六)获取本地图片或拍照图片等图片资源
- 实例解析Android ImageView的scaleType属性
- Fragment里添加ListView不要用ListFragment
- Andriod开发中常见问题
- Android进阶篇-自定义图片伸缩控件具体实例
- Android从服务器获取图片的实例方法
- android如何添加桌面图标和卸载程序后自动删除图标
- Android Chronometer控件实现计时器函数详解
- 安卓输入框被虚拟键盘挡住的问题(微信开发)
- 解析libcurl在android下的移植、编译与测试
- 解决Android横竖屏切换数据丢失问题的方法
- 解析:继承ViewGroup后的子类如何重写onMeasure方法
- 模仿美团点评的Android应用中价格和购买栏悬浮固定的效果
- web app与原生app的区别
- Android中的广播、服务、数据库、通知、包等术语的原理和介绍(图解)
- Android使用控件ImageView加载图片的方法
- Android 组件Gallery和GridView示例讲解
- Android图片压缩上传之基础篇
- Android App在ViewPager中使用Fragment的实例讲解
- android dialog自定义实例详解
RecyclerView的使用之HelloWorld
话说RecyclerView已经面市很久,也在很多应用中得到广泛的使用,在整个开发者圈子里面也拥有很不错的口碑,那说明RecyclerView拥有比ListView,GridView之类控件有很多的优点,例如:数据绑定,Item View创建,View的回收以及重用等机制。
RecyclerView是伴随Android 5.0发布的新控件,是一种列表容器,Google意在用新的RecyclerView来取代老旧的ListView和GridView,它的使用灵活性和性能都要优于ListView,接下来通过一系列文章来了解RecyclerView的各种使用方法,本篇来介绍它的初步使用,RecyclerView的“HelloWord“。
RecyclerView与传统ListView的区别:
1:ViewHolder模式,传统的ListView可以通过ViewHolder来提升列表滚动的性能,但是这不是必须的,因为ListView没有严格标准的设计模式,但是在使用RecyclerView的时候Adapter必须实现至少一个ViewHolder,因为它有着严格的ViewHolder设计模式。
2:显示效果,ListView只能实现垂直的滚动列表视图,相反,RecyclerView可以通过设置RecyclerView.LayoutManager来定制不同风格的视图,比如水平滚动列表或者不规则的瀑布流列表。
3:列表项动画, 在ListView中没有提供任何方法或接口,方便开发者实现Item的增删动画。RecyclerView可以通过设置的RecyclerView.ItemAnimator来为条目增加动画效果。
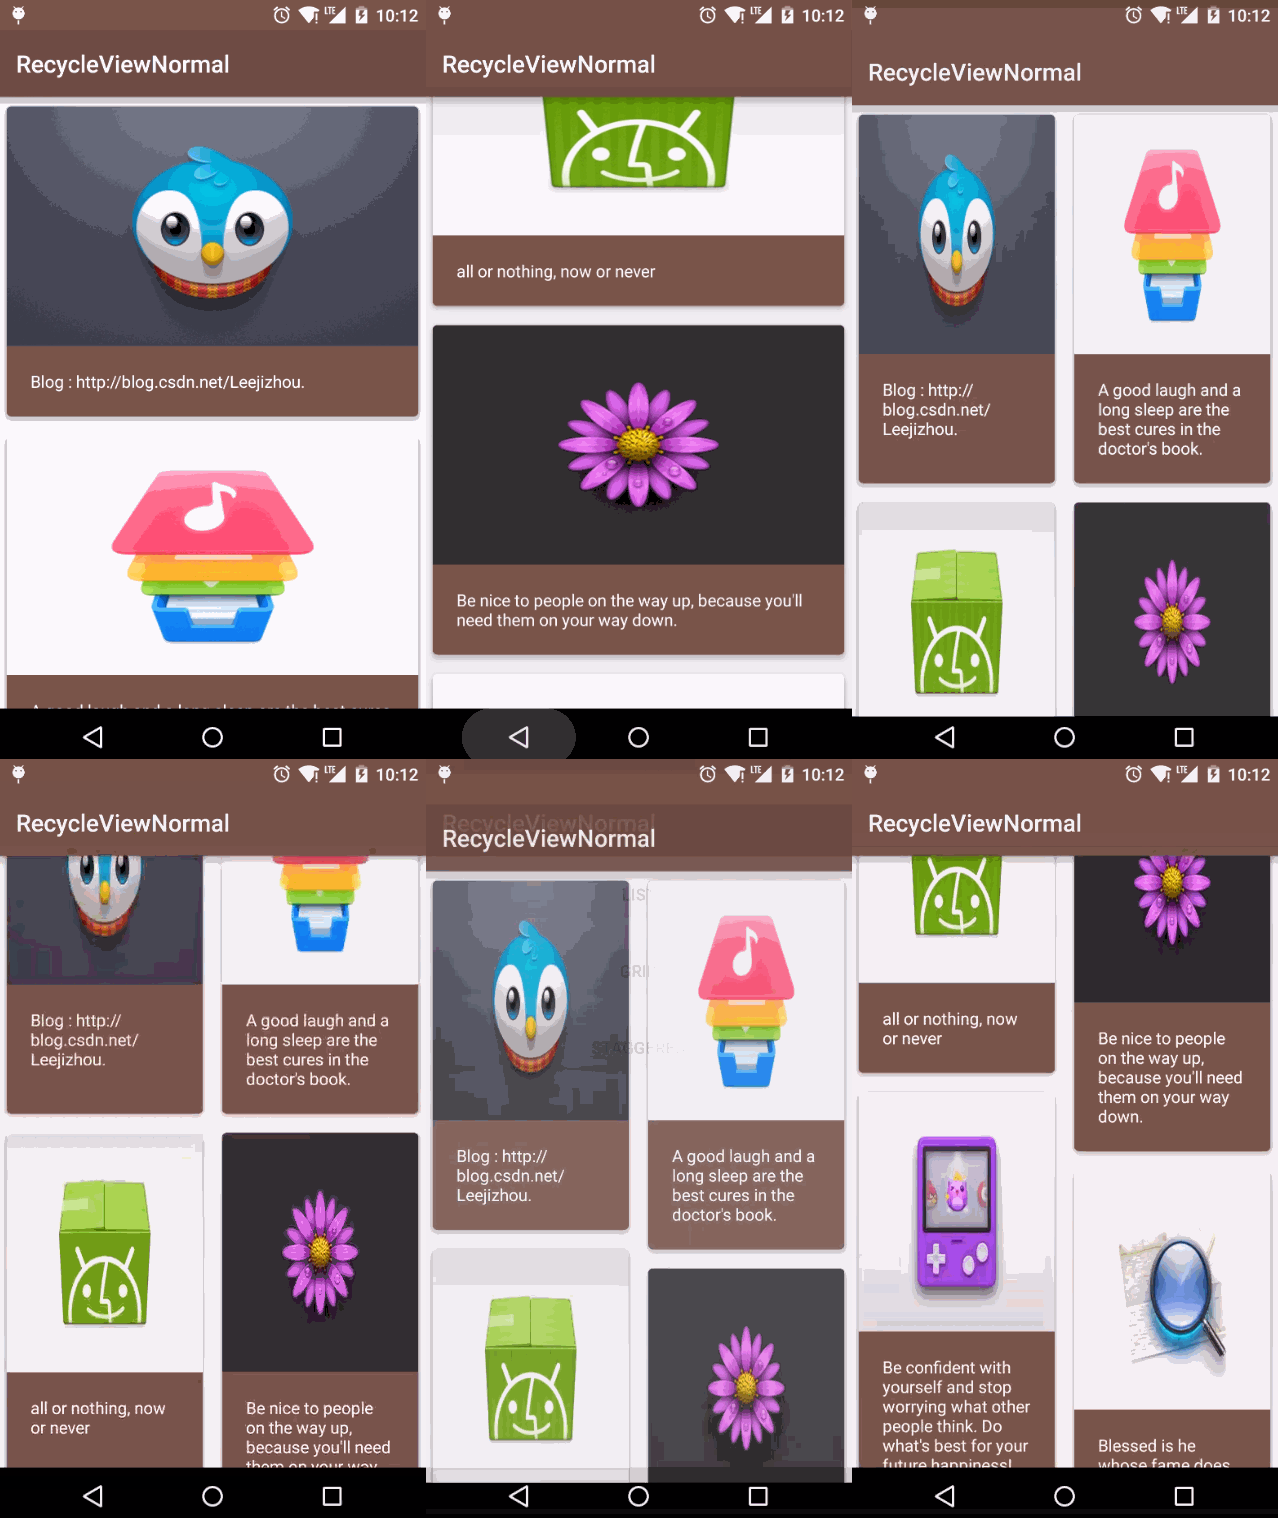
本文以实现下面这个小Demo来了解RecyclerView的初步使用

*图片素材版权归属于Smartisan.com
1:依赖库 (本文以Android Studio作为开发工具)
Gradle配置
compile 'com.android.support:recyclerview-v7:23.1.1'
2:建立Layout,与ListView类似,在布局里面添加RecyclerView
<?xml version="1.0" encoding="utf-8"?>
<LinearLayout xmlns:android="http://schemas.android.com/apk/res/android"
android:layout_width="match_parent"
android:layout_height="match_parent">
<android.support.v7.widget.RecyclerView
xmlns:android="http://schemas.android.com/apk/res/android"
android:layout_width="match_parent"
android:layout_height="match_parent"
android:id="@+id/rv_list"
/>
</LinearLayout>
3:建立RecyclerView Item布局
<?xml version="1.0" encoding="utf-8"?>
<android.support.v7.widget.CardView
xmlns:card_view="http://schemas.android.com/apk/res-auto"
xmlns:android="http://schemas.android.com/apk/res/android"
android:layout_width="match_parent"
android:layout_height="wrap_content"
android:layout_margin="8dp"
android:id="@+id/cv_item"
android:foreground="?android:attr/selectableItemBackground"
card_view:cardCornerRadius="4dp"
card_view:cardBackgroundColor="#795548"
card_view:cardElevation="4dp"
>
<LinearLayout
android:layout_width="match_parent"
android:layout_height="wrap_content"
android:orientation="vertical"
>
<ImageView
android:id="@+id/iv_pic"
android:layout_width="match_parent"
android:layout_height="200dp"
android:layout_weight="1"
/>
<TextView
android:id="@+id/tv_text"
android:padding="20dp"
android:textColor="#ffffff"
android:layout_width="match_parent"
android:layout_height="wrap_content"/>
</LinearLayout>
</android.support.v7.widget.CardView>
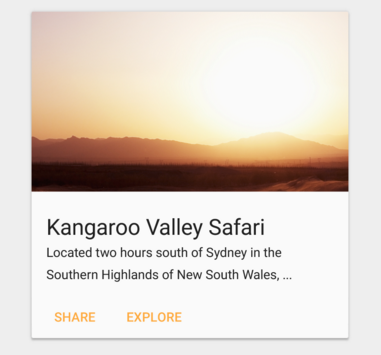
这里使用了一个叫CardView的控件,继承自FrameLayout,它是Google提供的一个卡片式视图容器,可以很方便的显示出具有阴影和圆角的卡片式布局,像这样

CardView跟RecyclerView一样使用前也需要进行导入
compile 'com.android.support:cardview-v7:23.1.1'
4:然后建立RecyclerView的Adapter
import android.content.Context;
import android.support.v7.widget.CardView;
import android.support.v7.widget.RecyclerView;
import android.view.LayoutInflater;
import android.view.View;
import android.view.ViewGroup;
import android.widget.ImageView;
import android.widget.TextView;
import android.widget.Toast;
/**
* Created by Lijizhou on 2016/2/3.
*/
public class RecyclerViewAdapter extends RecyclerView.Adapter<RecyclerViewAdapter.NormalViewHolder> {
private LayoutInflater mLayoutInflater;
private Context mContext;
private String [] mTitle;
private int [] mPic;
public RecyclerViewAdapter(Context context,String[]title,int[] pic){
mContext=context;
mTitle=title;
mPic=pic;
mLayoutInflater=LayoutInflater.from(context);
}
//自定义的ViewHolder,持有每个Item的的所有界面元素
public static class NormalViewHolder extends RecyclerView.ViewHolder{
TextView mTextView;
CardView mCardView;
ImageView mImageView;
public NormalViewHolder(View itemView) {
super(itemView);
mTextView=(TextView)itemView.findViewById(R.id.tv_text);
mCardView=(CardView)itemView.findViewById(R.id.cv_item);
mImageView=(ImageView)itemView.findViewById(R.id.iv_pic);
}
}
//在该方法中我们创建一个ViewHolder并返回,ViewHolder必须有一个带有View的构造函数,这个View就是我们Item的根布局,在这里我们使用自定义Item的布局;
@Override
public NormalViewHolder onCreateViewHolder(ViewGroup parent, int viewType) {
return new NormalViewHolder(mLayoutInflater.inflate(R.layout.item_view,parent,false));
}
//将数据与界面进行绑定的操作
@Override
public void onBindViewHolder(NormalViewHolder holder, final int position) {
holder.mTextView.setText(mTitle[position]);
holder.mImageView.setBackgroundResource(mPic[position]);
holder.mCardView.setOnClickListener(new View.OnClickListener() {
@Override
public void onClick(View v) {
Toast.makeText(mContext,mTitle[position],3000).show();
}
});
}
//获取数据的数量
@Override
public int getItemCount() {
return mTitle==null ? 0 : mTitle.length;
}
}
5:RecycleViewActivity.java
public class RecycleViewActivity extends AppCompatActivity {
private RecyclerView mRecyclerView;
//item 显示所需
private String[] title = {"Blog : http://blog.csdn.net/Leejizhou.",
"A good laugh and a long sleep are the best cures in the doctor's book.",
"all or nothing, now or never ",
"Be nice to people on the way up, because you'll need them on your way down.",
"Be confident with yourself and stop worrying what other people think. Do what's best for your future happiness!",
"Blessed is he whose fame does not outshine his truth.",
"Create good memories today, so that you can have a good past"
};
/**
* 图片资源版权归属于Smartisan.com
*/
private int[] pic = {R.mipmap.aa1, R.mipmap.aa0, R.mipmap.aa2, R.mipmap.aa3, R.mipmap.aa4, R.mipmap.aa5, R.mipmap.aa6};
@Override
protected void onCreate(Bundle savedInstanceState) {
super.onCreate(savedInstanceState);
setContentView(R.layout.activity_recycle);
mRecyclerView = (RecyclerView) findViewById(R.id.rv_list);
// 创建一个线性布局管理器
LinearLayoutManager layoutManager = new LinearLayoutManager(this);
//设置垂直滚动,也可以设置横向滚动
layoutManager.setOrientation(LinearLayoutManager.VERTICAL);
//另外两种显示模式
// mRecyclerView.setLayoutManager(new GridLayoutManager(this, 2)); Grid视图
// mRecyclerView.setLayoutManager(new StaggeredGridLayoutManager(2, OrientationHelper.VERTICAL)); 这里用线性宫格显示 类似于瀑布流
//RecyclerView设置布局管理器
mRecyclerView.setLayoutManager(layoutManager);
//RecyclerView设置Adapter
mRecyclerView.setAdapter(new RecyclerViewAdapter(this, title, pic));
}
}
- 上一篇文章: RecyclerView的使用之多种Item加载布局
- 下一篇文章: Android编程实现根据不同日期计算天数差的方法
- Android编程学习之抽象类AbsListView用法实
- Android中Fragment的生命周期与返回栈的管理
- Android App应用启动分析与优化
- Android下保存简单网页到本地(包括简单图片
- Android提高之手游转电视游戏的模拟操控
- Android开发教程之初识Android App
- Android编程中selector背景选择器用法实例分