- Yii框架中使用PHPExcel导出Excel文件
- mysql sql语句集锦
- PHP中实现图片的锐化
- PHP生成器Generators
- PHP脚本的10个技巧(4)
- PHP5.2+APACHE2.2+BugFree1.0的安装
- 利用js调用后台php进行数据处理原码
- 教你如何把一篇文章按要求分段
- PHP新手上路(九)
- PHPMailer:Featured email transfer class for PHP
- 图书管理程序(二)
- zend_db连接mysql(附完整代码)
- 用MySQL和PHP创建XML
- 如何将一个表单同时提交到两个地方处理
- Centos6.5搭建php环境(nginx+mariadb+php7)
- 怎么才能成为一名PHP专家?
- php对数组排序代码
- 一个分页的论坛
- PHP的魔术方法(简介)
- 一个统计目录文件大小的php函数
- 能得到你是从什么页面过来的,referer的用处
- phpunit安装出错的原因及解决办法
- 睡觉问题早晚成为我顶头疼的问题。。。-PHP
- php 与java安卓客户端的查询交互
- php4的session功能评述(二)
- PHP中双冒号::的用法
- smartcomb:用php实现的web模块拼合器
- 正则学习(2)---简单匹配原理
- [视频教程]LAMP兄弟连视PHP函数-strrpos
- 自罚一杯-PHP基础(一)
PHP+jQuery 长文章分页类 ( 支持 url / ajax 分页方式 )
/* ******* 环境:Apache2.2.8 ( 2.2.17 ) + PHP5.2.6 ( 5.3.3 ) + MySQL5.0.51b ( 5.5.8 ) + jQuery-1.8 ******* 其它组件:jQuery-1.8.3.min.js + Smarty 3.1.18 + TinyMCE 4.1.6 ******* Date:2014-10-20 ******* Author:小dee ******* Blog:http://www.cnblogs.com/dee0912/*/
写在前面的:
1.不论是列表分页还是文章分页,关键的地方在于如何处理当前页之前和之后的偏移量,也就是要考虑 ( 不同情况下哪些页码元素该显示,哪些不该显示 ) 和计算 ( 显示多少页码 ) ,这些关键的方法在 url 分页时写入分页类文件中,在 ajax 分页中写入 js 文件中;
2.在 ajax 分页时,使用live() 方法可以使 jQuery动态添加的元素也能绑定事件处理函数 ( ajax_arc.js 文件 )
这个功能模块的主要文件包括长文章分页类arc_page.class.php 和 用于 ajax 文章分页的ajax_arc.js 两个文件,包含的功能有:
1.文章内容可以使用 url 分页,分页后的 url 参数为 p;
2.文章内容可以使用 ajax 分页,显示页码;
3.和列表分页类一样,可以更改"上一页"、"下一页"文字
其他:这个模块的分页功能为 编辑器手动插入分页符 进行分页。
这个模块配合使用了TinyMCE ( 4.1.6 ) 编辑器
TinyMCE编辑器下载地址:http://www.tinymce.com/download/download.php,解压后文件夹tinymce放至根目录;
语言包下载地址:http://www.tinymce.com/i18n/index.php,选择Chinese (China),解压后把 langs 文件夹里的 zh_CN.js 放至tinymce/langs 目录下;
在模板里引入tinymce/tinymce.min.js 文件;
其他使用方法可以参照博客:http://www.cnblogs.com/nkxyf/p/3883586.html
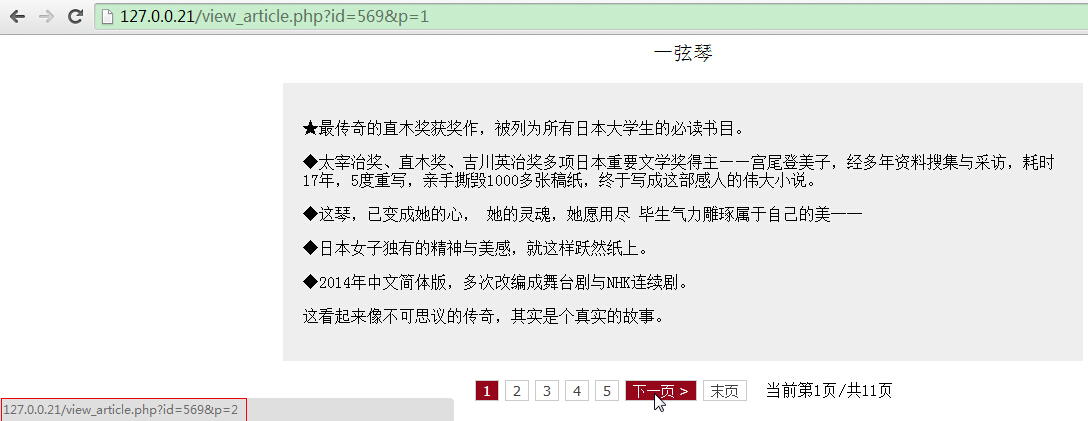
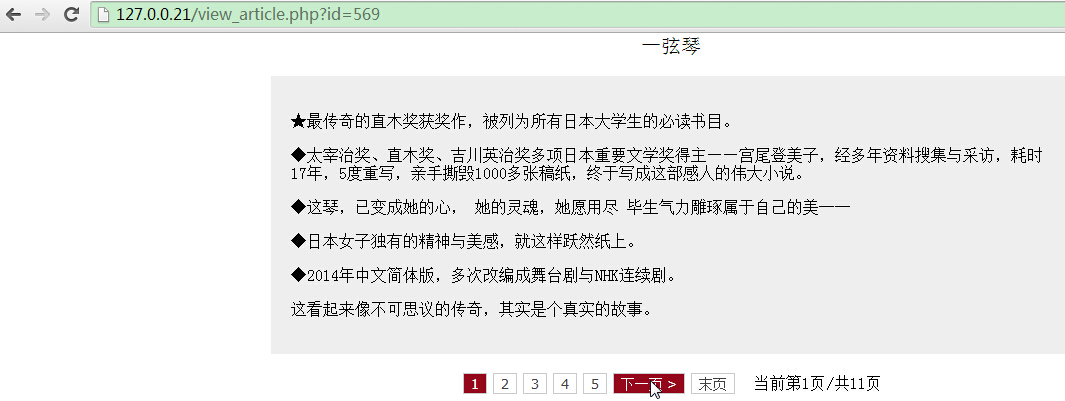
效果图:
url 分页
图1.

图2.

图3.

ajax 分页
图1.

图2.

模块文件结构图:
ROOT:├─conn │ └─conn.php│├─libs -- smarty库│├─templates│││├─add_article.html -- 添加文章模板│├─view_article.html -- 前台文章页模板│├─list.html -- 前台列表页模板│├─success.html -- 操作成功时显示模板│├─error.html -- 操作失败时显示模板│││├─CSS│││├─images││ └─loading.gif -- ajax分页时请求数据接收到之前的加载图│││└─js│ ││ ├─jquery-1.8.3.min.js│ ││ ├─showTime.js -- 操作成功或失败时的倒计时跳转文件│ ││ ├─ajax_arc.js -- 当分页方式为ajax时文章页模板view_article.html加载的js│ ││ └─ajax.js -- 当分页方式为ajax时列表页模板list.html加载的js│├─templates_c│├─tinymce -- 编辑器│├─init.inc.php -- smarty配置文件│├─list_page.class.php -- 列表分页类│├─arc_page.class.php -- 文章分页类│├─list.php -- 列表页│├─view_article.php -- 文章页│├─ajaxarc.php -- 文章页ajax分页时接受请求的php文件│├─ajaxpage.php -- 列表页ajax分页时接受请求的php文件│└─ins.php -- 添加文章php文件
主要代码:
添加文章( templates/add_article.html , add_article.php , ins.php )
templates/add_article.html

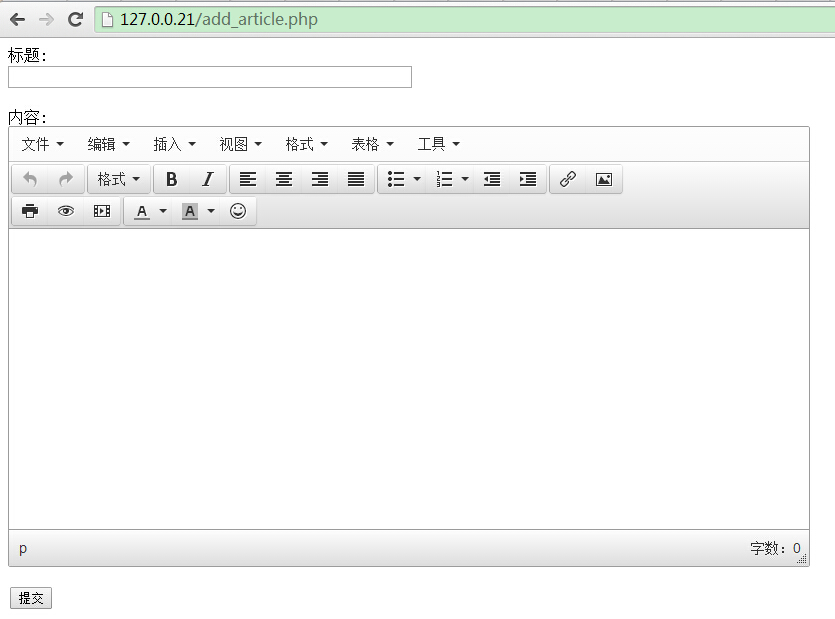
1 <!DOCTYPE html> 2 <html> 3 <head> 4 <meta charset="utf-8"> 5 <title>PHP文章分页类</title> 6 <link href="<{$Template_Dir}>/css/style_control.css" rel="stylesheet" type="text/css"> 7 <script src="<{$Template_Dir}>/js/jquery-1.8.3.min.js"></script> 8 9 <!-- tinymce 4.1.6 -->10 <script src="<{$ROOT_URL}>tinymce/tinymce.min.js"></script>11 <script>12 13 tinymce.init({14 15 selector:'#content', //编辑区域16 theme: "modern", //主题17 language: "zh_cn", //语言(中文需要到官网下载)18 19 width:800, //编辑框宽20 height: 300, //编辑框高21 22 plugins: [23 24 "advlist autolink lists link image charmap PRint preview hr anchor pagebreak",25 "searchreplace Wordcount visualblocks visualchars code fullscreen",26 "insertdatetime media nonbreaking save table contextmenu directionality",27 "emoticons template paste textcolor colorpicker textpattern"28 ],29 30 //第一行工具栏31 toolbar1: "insertfile undo redo | styleselect | bold italic | alignleft aligncenter alignright alignjustify | bullist numlist outdent indent | link image", 32 33 //第二行工具栏34 toolbar2: "print preview media | forecolor backcolor emoticons", 35 36 image_advtab: true, 37 38 //初始时提供的默认格式39 style_formats: [ 40 {title: 'Bold text', inline: 'b'},41 {title: 'Red text', inline: 'span', styles: {color: '#ff0000'}},42 {title: 'Red header', block: 'h1', styles: {color: '#ff0000'}},43 {title: 'Example 1', inline: 'span', classes: 'example1'},44 {title: 'Example 2', inline: 'span', classes: 'example2'},45 {title: 'Table styles'},46 {title: 'Table row 1', selector: 'tr', classes: 'tablerow1'}47 ]48 }); 49 50 </script>51 </head>52 <body>53 54 <form id="arc_form" action="ins.php" method="post">55 56 标题:<br />57 <input type="text" id="title" name="title" autocomplete="off" /><br /><br />58 内容:<br />59 <textarea id="content" name="content"></textarea><br />60 <input type="button" id="sub" value="提交" />61 62 </form>63 64 </body>65 <script>66 67 $(function(){68 69 $("#sub").click(function(){70 71 if($("#title").val() != ""){72 73 $("#arc_form").submit();74 }else{75 76 alert("标题不能为空");77 }78 });79 });80 </script>81 </html>View Code前台显示如图:

add_article.php

1 <?php2 3 require 'init.inc.php';4 5 $smarty->assign("ROOT",ROOT);6 $smarty->assign("ROOT_URL",ROOT_URL);7 $smarty->assign("Template_Dir",Template_Dir);8 9 $smarty->display("add_article.html");View Codeins.php

1 <?php 2 3 require 'conn/conn.php'; 4 require 'init.inc.php'; 5 6 if(isset($_POST['title']) && !empty($_POST['title'])){ 7 8 if(get_magic_quotes_gpc()){ 9 10 $title = trim($_POST['title']);11 12 }else{13 14 $title = addslashes(trim($_POST['title']));15 }16 }17 18 if(isset($_POST['content']) && !empty($_POST['content'])){19 20 $content = htmlspecialchars($_POST['content']);21 }22 23 function check_input($value){24 25 // 如果不是数字则加引号26 if (!is_numeric($value)){27 28 $value = mysql_real_escape_string($value);29 }30 return $value;31 }32 33 $title = check_input($title);34 35 36 //插入数据37 $sql = "insert into archives (title,content,pubdate)values('".$title."','".$content."','".time()."')";38 39 40 if($conne->uidRst($sql
- 上一篇文章: ThinkPHP整合百度Ueditor
- 下一篇文章: 74cms 骑士人才系统源码
